Futago

Futago

AI STUDIO

HomeFeed
AI photos
Photo studioBeauty studioIdea bank
For business
Product graphicsPresentationsListing photosReal estate visualsFashion studio
Virtual try-onAI image generatorVideo studioFilm studioPinterestRemix
My workPricingHelp

Account

Checking sign-in...

Theme:
Futago 2026
Contact: support@futagoapp.com
TermsPrivacy
Futago

Futago

AI STUDIO

HomeFeed
AI photos
Photo studioBeauty studioIdea bank
For business
Product graphicsPresentationsListing photosReal estate visualsFashion studio
Virtual try-onAI image generatorVideo studioFilm studioPinterestRemix
My workPricingHelp

Account

Checking sign-in...

Theme:
Futago 2026
Contact: support@futagoapp.com
TermsPrivacy
Futago

Futago

Help Center

Workflows

Quick startFeedResult editingAI photosVirtual try-onFashion studioAI image generatorProduct infographicsListing photosPresentationsPinterest remixReal estate visualsInterior design3D floor planExterior & landscapeListing photo enhancerImage-to-video studioAI film studio

Workflows

Choose a guide from the list.

Getting started

Quick startFeedResult editing

Photos and looks

AI photosVirtual try-onFashion studioAI image generator

Business visuals

Product infographicsListing photosPresentationsPinterest remix

Real estate

Real estate visualsInterior design3D floor planExterior & landscapeListing photo enhancer

Video

Image-to-video studioAI film studio

Getting started

Core Futago sections and how to choose the right workflow.

NavigationOpen workflow

Quick start

In Futago, everything starts with choosing a workflow. Each mode is tuned for a specific task, so the output is more accurate.

  1. 1
    Feed

    Browse Futago user creations here. Only works published with consent appear in the feed. Open any result you like and recreate a similar one for your own task.

  2. 2
    AI photos

    Use this when you need strong photos of a person: avatar, social content, expert photos, team shots, website images, resume photos, or personal brand content.

  3. 3
    Idea bank

    Use this when you want a ready-made visual reference for AI photos. Open an example you like and use it as the base for a new shot.

  4. 4
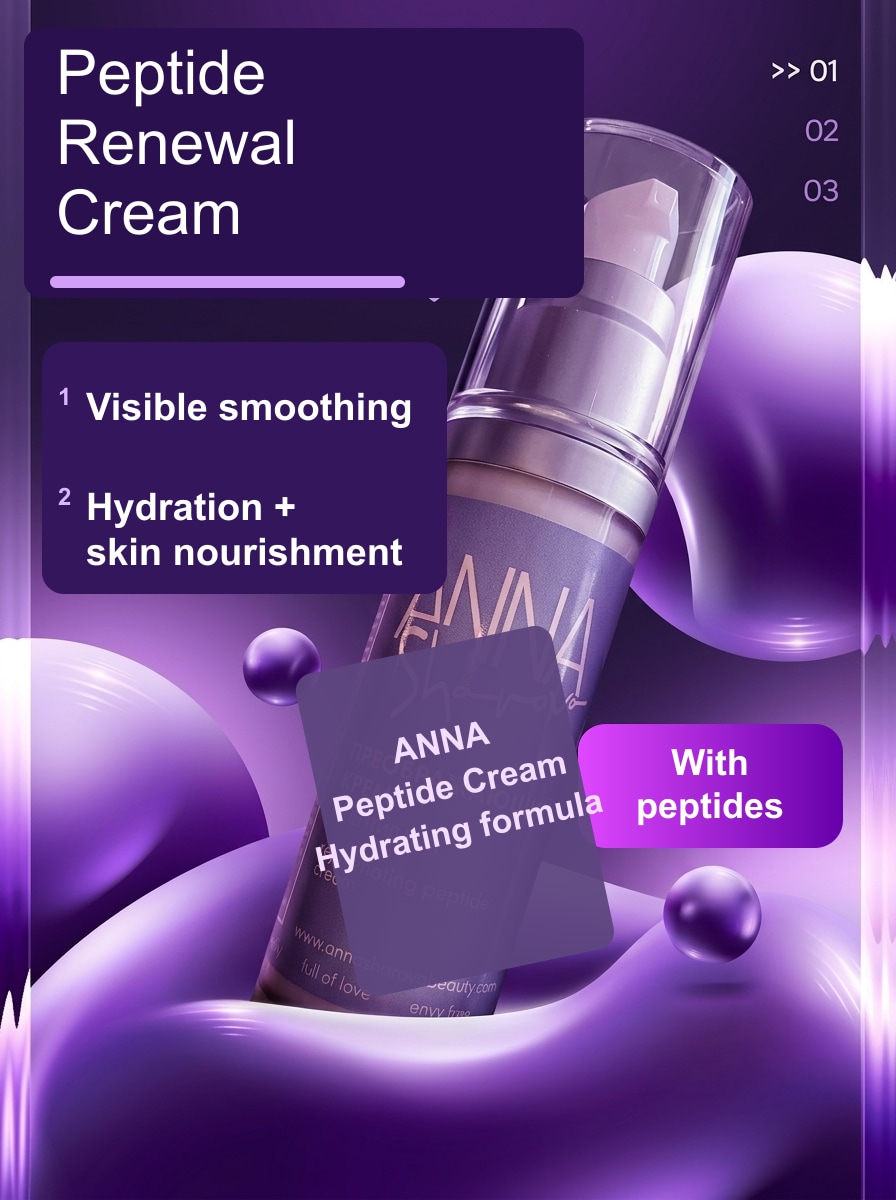
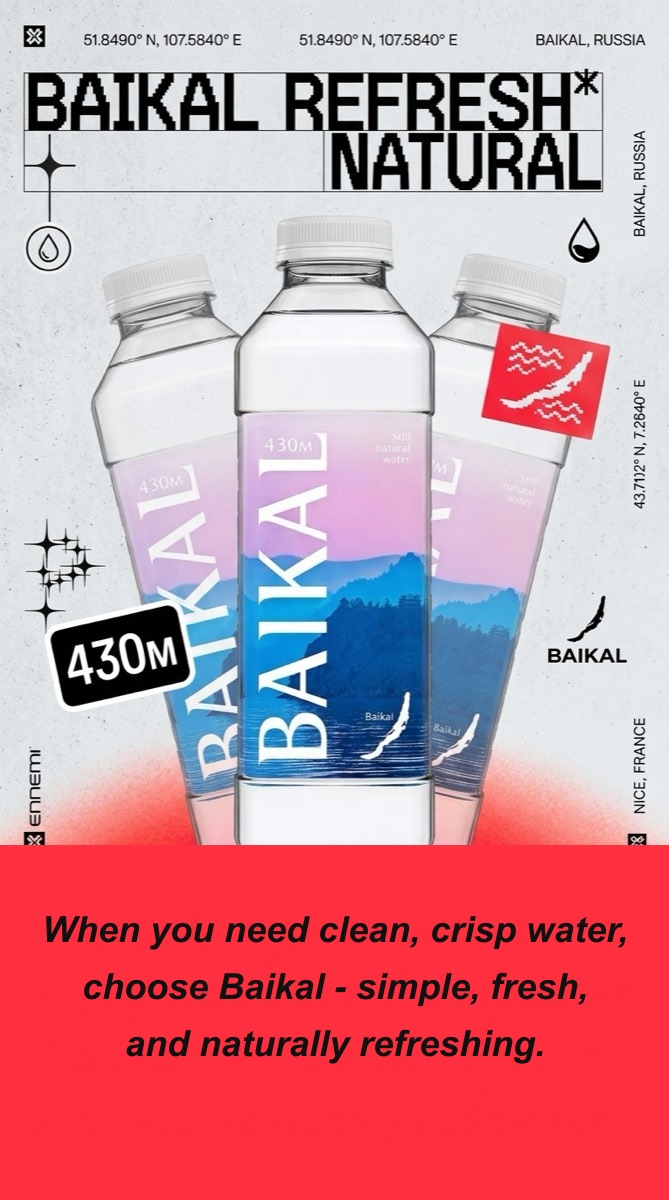
    Product graphics

    Use this for product infographics, listing visuals, feature callouts, comparisons, or ads. Upload product photos, choose a style, and Futago builds a finished commercial graphic with layout and text.

  5. 5
    Marketing graphics

    For complex commercial visuals: ad posters, banners, menus, event posters, promo creatives, covers, listings, campaign visuals, and social media assets.

  6. 6
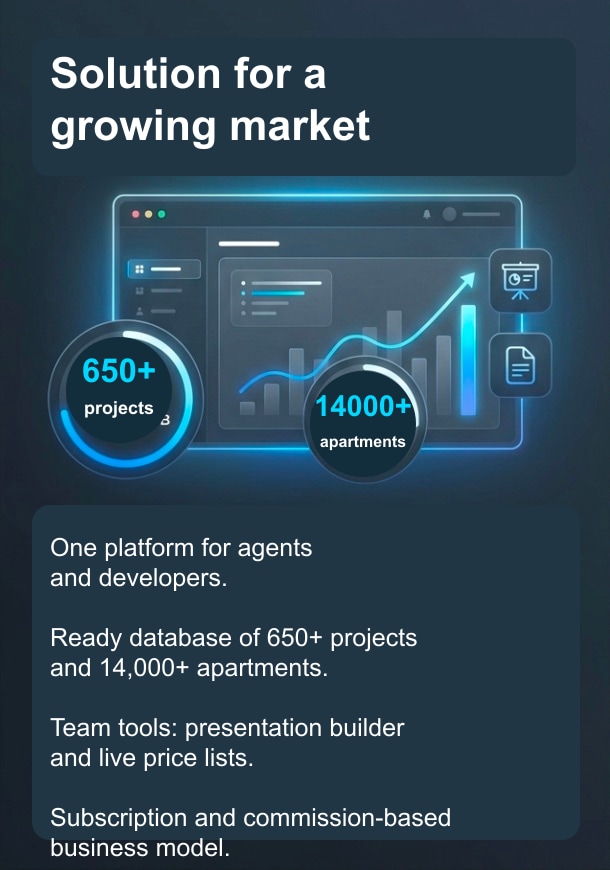
    Presentations

    A full presentation builder. Upload materials or write text, edit slides, and get a finished PDF presentation.

  7. 7
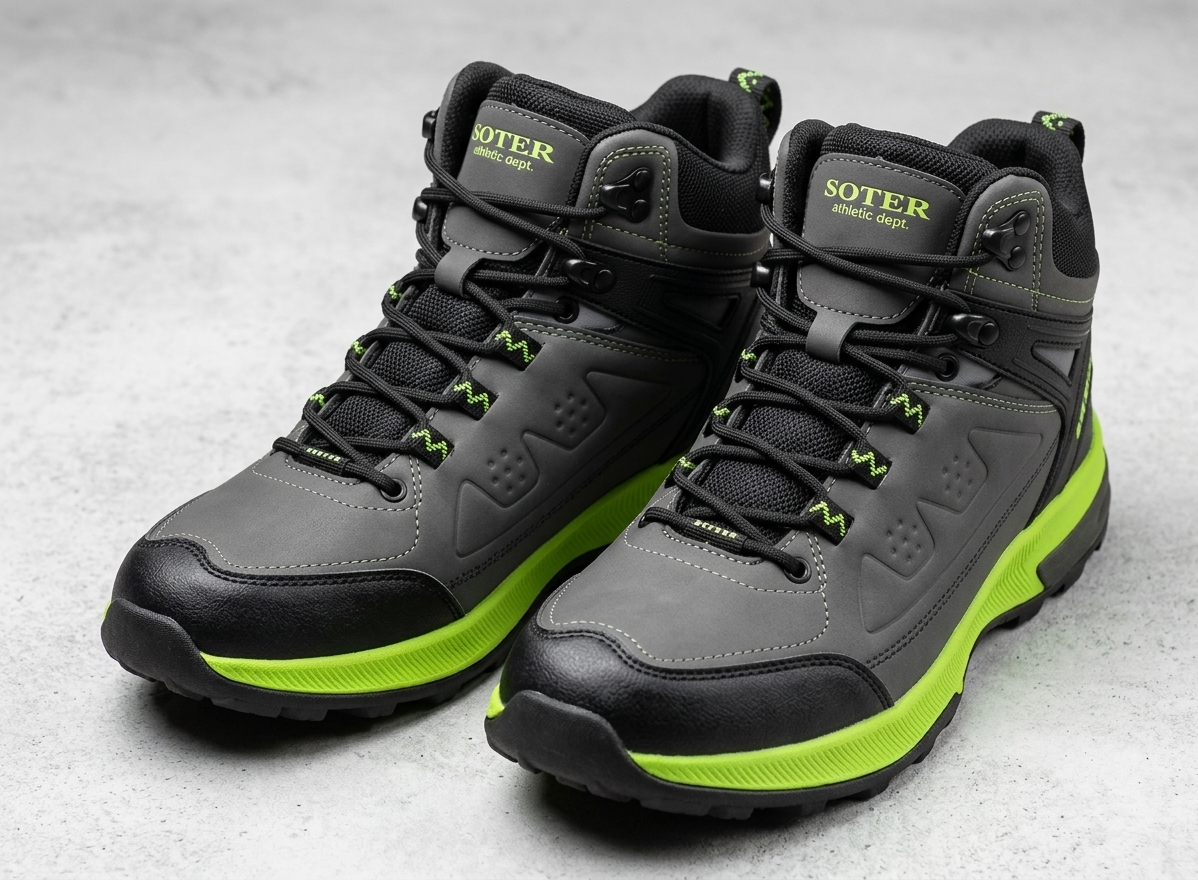
    Listing photos

    For preparing product and listing photos: improve source images and make them cleaner, clearer, and more attractive for selling.

  8. 8
    Real estate visuals

    Use this to visualize a project: interior, renovation, 3D floor plan, furniture layout, landscape design, or property improvement idea.

  9. 9
    Fashion studio

    For clothing sellers, designers, and ateliers. Build a fashion lookbook on one model, show items in different outfits, and prepare catalog or ad visuals.

  10. 10
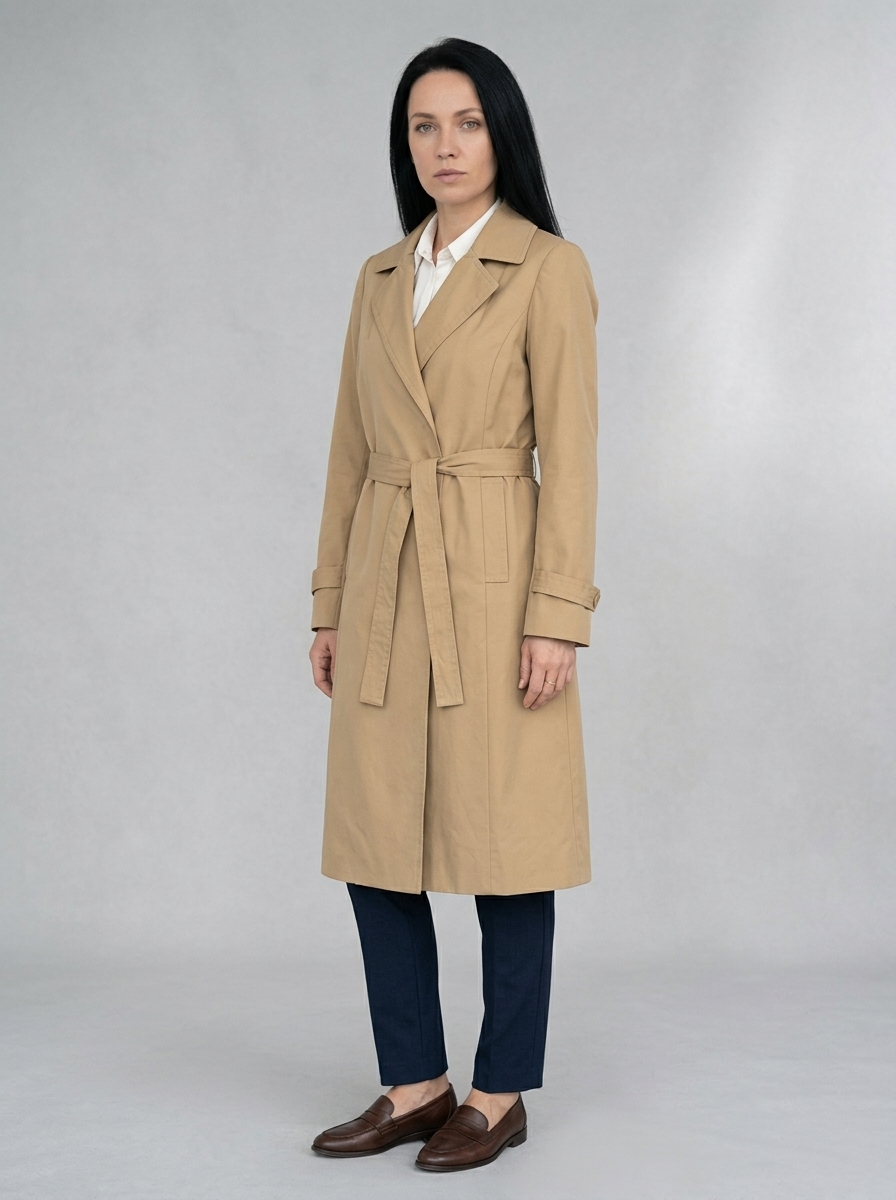
    Virtual try-on

    Use this when you want to try clothes on yourself online. Upload your photos and clothing item photos, including store screenshots, and Futago creates the try-on result.

  11. 11
    AI image generator

    For any custom task: generate an image from a text prompt or upload an image as a reference.

  12. 12
    Image-to-video studio

    For short animation of simple objects: products, cards, clothing models, items, or finished images. For a complex multi-scene video, use Film Studio.

  13. 13
    AI film studio

    For longer scene-based videos: clips, cartoons, ads, promo videos, and stories. Futago helps split the script into scenes, frames, and prompts.

  14. 14
    Pinterest remix

    Use this when you found a strong Pinterest idea and want your own visual in a similar aesthetic. Paste the link and add your text, product, photo, or task.

  15. 15
    My works

    All your results from different workflows are stored here: photos, product cards, presentations, videos, business visuals, and other results. Return later, open the work you need, and continue.
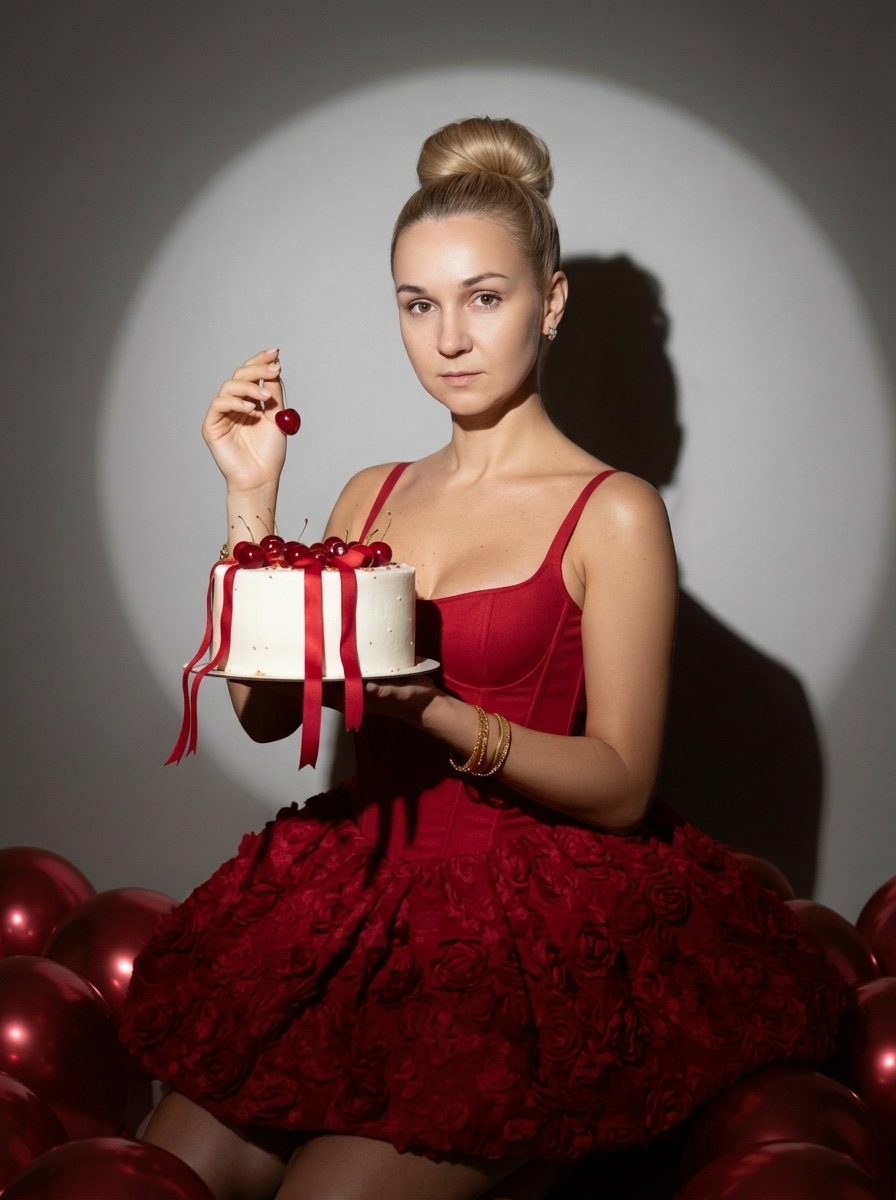

Example result from AI photos
Choose the workflow that matches your goal
ExamplesOpen workflow

Feed

This page shows Futago community creations: product cards, posters, banners, AI photos, real estate visuals, and other designs.

  1. 1
    Privacy

    Only works users explicitly share appear in the feed. Your results do not become public automatically and are not shown to others without your permission.

  2. 2
    Reuse a result

    Open any result you like and recreate a similar visual in one click. Futago uses the idea, style, and workflow as the base, while you can replace the text, photos, or task.

  3. 3
    How to use it

    Use the feed as an example library: see what others are making, choose a suitable reference, and quickly start your own result.

Example visual from the Futago feed
Browse published works and reuse the style
Edits

Result editing

The editor uses the current result and its context. For more accurate edits, write exactly what to change and what to replace it with.

  1. 1
    What to change

    Start with a specific object or area: background, text, color, clothing, product, face, light, composition. If there are similar elements, specify the location: left, right, bottom, on packaging, in the background.

  2. 2
    What to replace it with

    Write the new state directly: replace the red background with light gray, change the text “20% off” to “New season,” make the product larger and keep it centered, add soft warm light.

  3. 3
    What to preserve

    If details matter, say so directly: preserve the face, pose, product, proportions, style, angle, or text that should not be touched. This helps the editor affect less of the image.

Example product card for targeted editing
Write a specific edit for the current image

Photos and looks

Workflows for people, clothing, virtual try-on, and custom image creation.

PortraitsOpen workflow

AI photos

Create different looks with your photo: portraits, social content, website photos, expert photos, team shots, or shared frames.

  1. 1
    Person photo

    Upload a good-quality face photo where the face is clearly visible. This makes the result more accurate. Avoid distant shots, covered faces, dark glasses, or heavy filters.

  2. 2
    Reference

    Choose a reference from the idea bank on the right or upload your own reference, screenshot, or example frame. In “recreate frame” mode, Futago replaces the person with you and keeps the rest close to the reference. In “similar style” mode, the result looks more like you while keeping the reference style, lighting, and mood.

  3. 3
    Prompt

    If you are not using a reference, describe in detail what you want to see: look, clothes, pose, background, mood, light, shooting style, and important details. The more specific you are, the closer the result will be.

  4. 4
    Where to find photos

    All created photos are saved in My Photos. Open it from the top-right button or through the My Works menu.

Example AI photo result
Upload a person photo and add a reference
ClothingOpen workflow

Virtual try-on

Try clothes on yourself online: upload your photos, add clothing photos, and get ready try-on images without a shoot.

  1. 1
    What it is for

    Use it to see how clothes might look on you before buying, assemble an outfit from different items, or quickly try on an online store product.

  2. 2
    Your photos

    Upload a full-body photo and a separate photo with a clearly visible face if possible. This helps Futago understand appearance, body shape, build, and proportions. You can also add another angle of the same person.

  3. 3
    Clothing photos

    Upload 1 to 3 items: top, bottom, and shoes. You can use regular clothing photos, product cards, or store screenshots.

  4. 4
    How Futago uses clothing

    Futago extracts the item itself from the uploaded image: color, shape, cut, print, texture, and fit. It tries to ignore extra background, marketplace UI, model photos, and text on the card.

  5. 5
    If something is missing

    You do not have to upload a full outfit. If you only have a top or only shoes, Futago will complete the look with matching missing items.

  6. 6
    Result

    When the try-on is ready, you get two images: front view and three-quarter view. This helps you quickly evaluate the look.

Example Futago fashion look
Add your own photos and item images
CatalogOpen workflow

Fashion studio

This workflow creates a fashion catalog or lookbook without a studio: upload clothes, choose a model, and get professional sales images.

  1. 1
    Who it is for

    For clothing sellers, brands, designers, ateliers, showrooms, and marketers who need photos for product cards, catalogs, social media, ads, or collection presentations.

  2. 2
    Lookbook on one model

    Choose the same model and build a series of looks in a consistent style. The collection feels cohesive: different items, unified presentation, similar light, background, and format.

  3. 3
    Model and angle

    Choose a model first, then an angle and frame format. If you need a specific view, write it plainly: full-body, side angle, looking at camera, 3/4, or another suitable angle.

  4. 4
    Clothing upload

    Upload photos of the top, bottom, and shoes. You do not have to upload every outfit part: if something is missing, Futago selects a matching item based on the uploaded elements.

  5. 5
    Details

    Use the fields under each clothing item for important details: preserve color, print, cut, fit, fabric texture, sleeve length, or product features. The more precise the note, the closer the result is to the real item.

  6. 6
    Result

    The output is a fashion photo for catalogs, product pages, ads, or social media. Studio models are generated by Futago, so you can publish the results online or in ads.

Example catalog fashion photo
Create a lookbook or clothing cards
Image-to-imageOpen workflow

AI image generator

This mode is for custom tasks: create an image from text or upload a photo and modify it through image-to-image.

  1. 1
    When to use it

    Use the image generator when the task does not fit a preset workflow: create an image from scratch, art, cover, background, illustration, creative, or quick visual concept.

  2. 2
    Text prompt

    Describe what you want: object, style, background, color, mood, light, composition, details, and constraints. The more specific the description, the closer the result will be.

  3. 3
    Photos as references

    You can upload up to 5 images. Futago will use them as a base or hint: edit a photo, borrow a style, preserve an object, replace a background, or build a new visual from your references.

  4. 4
    Format

    Choose the future image format before creating it: 9:16, 3:4, 1:1, or 16:9. This matters for social media, covers, cards, banners, and other use cases.

  5. 5
    How to write better

    Use plain language, but be detailed. If you upload a photo, say exactly what to do with it: change style, remove extras, replace background, add an item, preserve composition, or create a similar version.

  6. 6
    Results

    Finished images appear in the chat feed on this page. Open a result larger and use it as a final visual or as a base for a new idea.

Example visual reference for image creation
Describe the task with text or upload references

Business visuals

Product graphics, listing photos, presentations, real estate visuals, and Pinterest remixes.

CreativesOpen workflow

Product infographics

This workflow is for complex business visuals: ad posters, banners, menus, event posters, promo creatives, service descriptions, covers, and cards with multiple content blocks.

Marketing graphics: step 1

  1. 1
    Card format

    First choose the visual format: square, vertical card, story, or horizontal banner. Format affects composition and text placement.

  2. 2
    Style reference

    Choose a suitable template on the right or upload your own reference: competitor card, Pinterest screenshot, ad banner, or any design example you like.

  3. 3
    Object photos

    Upload products, objects, or people that should appear on the new card. Futago integrates them into the visual and adapts them to the selected style.

  4. 4
    Text and task

    Write what should appear on the card. Paste ready text, list points, or give the AI a task such as “write a short offer for a restaurant.” The key is to describe the task clearly.

Marketing graphics: result

This step shows the finished visual. Save it, open it larger, or refine it with the editor.

  1. 1
    Editing

    If you need changes, click Edit and write a specific request: replace text, remove an extra element, make the background brighter, change color, or move an object.

  2. 2
    New variant

    If you want another version, click Start over: change the format, choose another reference, upload different objects, or refine the prompt.

  3. 3
    Best result

    Complex marketing graphics depend on specificity and structure. The clearer you describe text, accents, objects, and style, the closer the result will be to the ad card you need.

Example product infographic and marketing graphic
Build product graphics from copy, photos, and a reference
SalesOpen workflow

Listing photos

This workflow prepares regular listing photos: cleaner, brighter, neater, and more sales-ready without changing the object itself.

  1. 1
    What it is for

    Use it for marketplace listings, goods and services, rental, equipment, furniture, decor, and other objects where better presentation can quickly improve trust.

  2. 2
    What to upload

    Upload one or more photos of the object. Clear shots work best, with the item visible and no heavy blur, darkness, or occlusion. Futago processes every photo in the series.

  3. 3
    Item description

    In the item description field, say what is in the photo: shoes, car, tow truck, vase, chair, equipment, etc. This helps Futago understand the listing context.

  4. 4
    Background and notes

    Keep automatic background selection enabled if you want Futago to improve the background automatically. In additional notes, say what to improve: cleaner background, more light, remove extra objects, preserve natural color, or make the visual more premium.

  5. 5
    Result

    You get a listing-ready photo with better light, cleaner frame, stronger composition, and better presentation. Save the finished images, open them larger, or edit them if needed.

Example enhanced listing photo
Improve source photos without changing the object itself
SlidesOpen workflow

Presentations

At this step, Futago accepts your materials and prepares the foundation for the future presentation.

Presentations: step 1

  1. 1
    Materials

    Attach a PDF, Word document, text file, image, screenshot, or simply paste text into the input. Futago combines the data and extracts the key points for slides.

  2. 2
    How it works

    Futago parses the materials, proposes a structure, writes slide copy, and uses your design example if you upload a style reference.

  3. 3
    Design reference

    If you need a specific visual character, upload a slide or presentation screenshot. Futago uses its palette, composition, and typography for the future visual.

Presentations: step 2

Here you can review the presentation structure and edit each slide before building the visuals.

  1. 1
    Slide draft

    Review titles and body text. Rewrite phrasing, remove extras, add key points, or change the order of accents.

  2. 2
    Media

    Add a photo or another image to each slide. Futago embeds media into that slide visual and accounts for it while creating the slide.

  3. 3
    Before creating slides

    After edits, click Generate presentation. The more precise the text and media are at this step, the closer the final slides will be to your task.

Presentations: step 3

Finished visual slides appear here. Open them, edit individual slides, and download the full presentation as a PDF.

  1. 1
    Slide editing

    Each slide has an Edit button. Write a specific change for the current slide: replace text, remove an element, brighten the background, add an accent, or change the composition.

  2. 2
    Download

    When the presentation is ready, click Download PDF. Futago combines all slides into one file.

  3. 3
    Where to find presentations

    All presentations are stored in My Works - Presentations. Return later, open a draft, or download the finished PDF.

Example Futago presentation slide
Upload materials and review the slide structure
ReferencesOpen workflow

Pinterest remix

This workflow is for complex marketing graphics and Pinterest visual ideas: take a pin style and build a new visual for your task.

Pinterest: step 1

  1. 1
    What it is for

    Use it for ad cards, posters, banners, covers, promo creatives, event posters, complex marketing graphics, and any visuals where you like a Pinterest composition or style.

  2. 2
    Pin link

    Paste a direct Pinterest photo pin link and click Detect. Futago extracts the image and uses it as the visual reference.

  3. 3
    Important

    Photo pins are supported. Video pins and pages without an accessible image may not be detected.

Pinterest: step 2

At this step, add your content and explain what you want to get in the selected pin style.

  1. 1
    Source photos

    Upload 1-3 photos: product, person, object, room, or any elements that should appear in the new visual. Futago must use these images as the scene base.

  2. 2
    Format

    Choose the future result format: 1:1 for square posts, 3:4 for cards, 9:16 for stories and vertical creatives, 16:9 for horizontal banners.

  3. 3
    Text and prompt

    Use the text field to say what should be on the card. Paste ready text, a list of benefits, an offer, a headline, or simply describe the task in your own words.

  4. 4
    What to specify

    Add notes if needed: what to keep from the pin, what to remove, which text should be main, what objects to highlight, what background is needed, and which details must be preserved.

  5. 5
    Not a copy

    The result is a new independent work in a similar aesthetic. Futago follows the reference style and techniques, but does not make a one-to-one copy.

Pinterest: result

The finished remix appears here: a new visual based on the Pinterest reference, your photos, and your prompt.

  1. 1
    Review result

    Check whether your photos were used correctly, the pin style fits, the text is readable, and the format matches the task.

  2. 2
    If you need changes

    Return to step 2 to replace photos, change format, or refine the prompt. The more specific your text, accents, and constraints are, the more accurate the result will be.

  3. 3
    Save

    Open the finished result larger and save it to your device.

  4. 4
    Animation

    If you want to animate the visual, click Animate. The result opens in Video Studio as the source image for a short MP4.

Example Pinterest remix
Use a pin aesthetic and adapt it to your task

Real estate

Interior design, plans, facades, and professional photo preparation.

SectionOpen workflow

Real estate visuals

In this section, choose the workflow that fits your task: interior, 3D floor plan, facade, or photo preparation for sale.

  1. 1
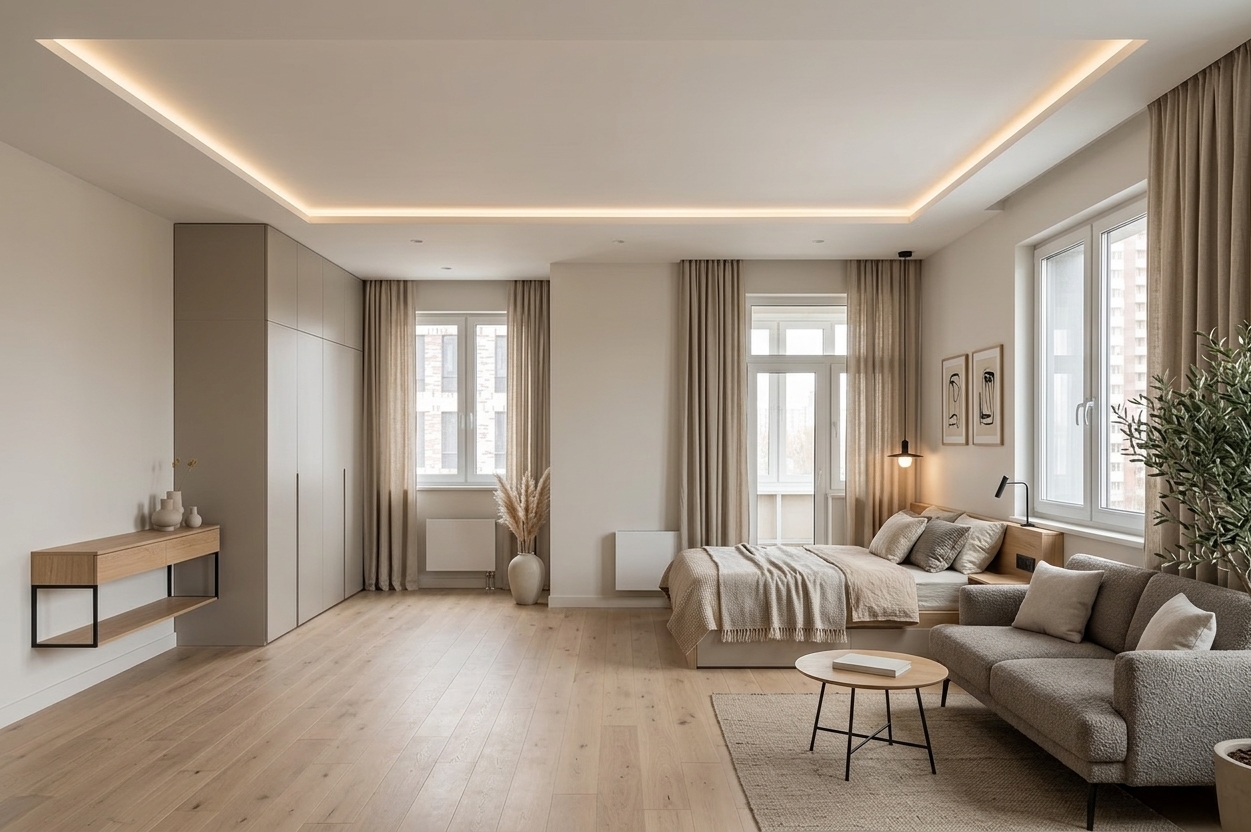
    Interior design

    Use it to visualize a renovation for an apartment, office, store, or other room. Futago generates a new design inside your interior while preserving the base of the uploaded space.

  2. 2
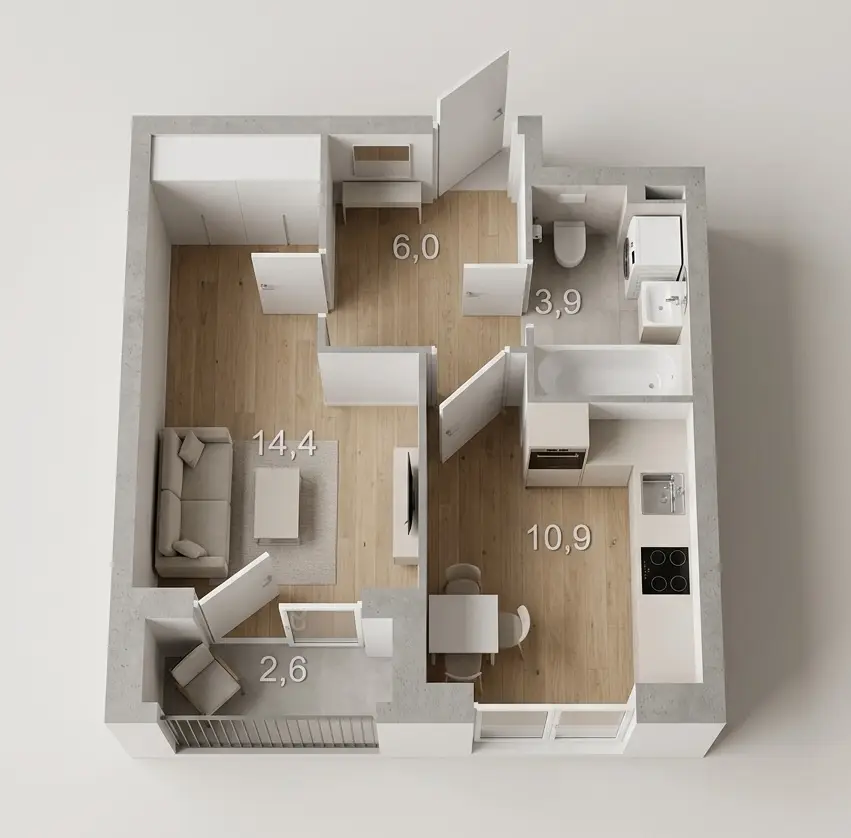
    3D floor plans

    Use it when you have a scheme, drawing, or 2D plan and need a clear 3D floor plan of that exact layout for presentation, approval, or listing.

  3. 3
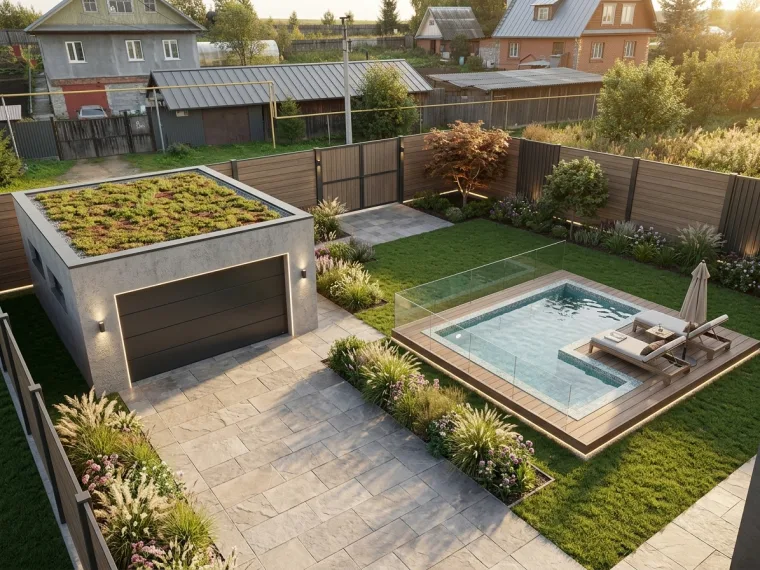
    Exterior & landscape

    Use it for exteriors: facade updates, entrance groups, signage, yards, lots, landscaping, terraces, or improvement ideas around a property.

  4. 4
    Listing photo enhancer

    This mode does not rebuild or redesign anything. It professionally prepares real estate photos for sale: improves quality, light, and cleanliness, removes clutter, and makes the shot neater.

Example real estate visualization
Choose the right workflow for the property
RoomsOpen workflow

Interior design

Upload a room photo, choose a style, and describe the interior you want.

Interior design: step 1

  1. 1
    Room photo

    Upload a clear photo of a room, office, store, or other space. Futago visualizes the new design inside this exact space, so walls, floor, windows, and geometry should be visible.

  2. 2
    Style reference

    Choose a style from the catalog on the right or upload your own reference: interior, screenshot, moodboard, or design example. Futago uses direction, materials, colors, and mood without copying the image one-to-one.

  3. 3
    Prompt

    In the manual prompt, write what to consider: room type, style, colors, materials, furniture, lighting, and what should not change. Plain language is fine; be specific.

Interior design: result

At this step, view the result, save it, or refine it with the editor.

  1. 1
    Review result

    Check whether the style fits, the room logic is preserved, and key interior zones are visible enough.

  2. 2
    Editing

    If the result needs changes, click Edit and write a specific action: make walls brighter, replace flooring, remove an extra object, add warm light, or change furniture.

  3. 3
    New variant

    If you want another design, start over: choose another reference, refine the prompt, or upload a more suitable room photo.

Example new interior design
Upload a room photo and style reference
PlansOpen workflow

3D floor plan

Use this workflow when you have a scheme, drawing, or 2D plan and need a clear 3D visualization of that layout.

  1. 1
    Plan photo

    Upload a clear scheme where walls, rooms, windows, doors, and proportions are readable. The clearer the source plan, the more accurate the 3D floor plan.

  2. 2
    Prompt

    In the manual prompt, specify property type, renovation style, basic furniture, room purpose, and important constraints. If something must not change, say it directly.

  3. 3
    Result

    When the 3D visualization is ready, save it or edit it. For edits, be specific: change floor color, add furniture, brighten it, or remove an extra element.

Example 3D floor plan visualization
Prepare a clear scheme or drawing
ExteriorOpen workflow

Exterior & landscape

This workflow is for exteriors: facades, entrance groups, signage, lots, yards, terraces, and landscape design.

  1. 1
    Object photo

    Upload a photo of the building, facade, lot, or area. The object should be clearly visible without heavy blur or occlusion.

  2. 2
    Prompt

    Describe what to change: facade, materials, color, lighting, signage, paths, greenery, terrace, yard, or overall style. Also specify what must be preserved.

  3. 3
    Result

    Futago preserves the base object and prepares a new architecture or landscape visualization. If you need edits, use the editor and describe the exact change on the current image.

Example updated facade and landscape
Describe what to change and what to keep
ListingsOpen workflow

Listing photo enhancer

This mode prepares real estate photos for sale or listings. It improves presentation but does not change renovation, layout, or room design.

  1. 1
    Room photo

    Upload the source photo of an apartment, office, store, or other property. Choose a frame where the room is visible and not heavily blurred.

  2. 2
    What this mode does

    Futago improves quality, light, cleanliness, and overall professional presentation. It may remove clutter and visual noise, but should not rebuild the interior or change the object itself.

  3. 3
    Prompt and result

    Keep the prompt short or clarify the task: make the photo brighter, remove small extra details, balance light. When the photo is ready, save it or apply a targeted edit through the editor.

Example prepared real estate photo
Improve light, cleanliness, and presentation

Video

Short image animation and longer scene-based videos.

MP4Open workflow

Image-to-video studio

This workflow is for short animation of a finished image: product, card, item, clothing, product model, or another simple object.

  1. 1
    What it is good for

    Use Video Studio when you need to animate a static photo: add subtle product motion, camera movement, or create a short MP4 for a card, ad, social post, or storefront.

  2. 2
    What to upload

    Choose any result from your work or upload your own photo. Clear images with one main object work best: product, packaging, card, accessory, interior item, or clothing.

  3. 3
    What not to do here

    Video Studio is not meant for complex videos with people, dialogue, scenes, clips, cartoons, or full ad productions. Use Film Studio for those tasks.

  4. 4
    Animation prompt

    Keep it short and specific: what should move, how the camera should move, what light and mood are needed. Example: the product slowly rotates, the camera smoothly moves closer, highlights travel across the surface.

  5. 5
    Format and duration

    Choose 9:16 for stories and vertical social media or 16:9 for horizontal video. Pick 4, 6, or 8 seconds based on the task: simpler motion can be shorter.

  6. 6
    Result

    When the video is ready, a short MP4 appears here. Download it and use it as an animated product card, promo creative, or short social media video.

Example source image for short animation
Animate a finished image with short motion
ScenesOpen workflow

AI film studio

Film Studio is for longer videos built from separate scenes: clips, cartoons, ads, promo videos, and story-driven videos.

Film Studio: step 1

  1. 1
    Main idea

    Write an idea or a ready script in your own words. Futago splits it into scenes, prepares frame and video prompts, and then you can review and edit everything on the scene board.

  2. 2
    Generate script

    If you only have a short idea, click Generate script. Futago turns it into a more complete text for the future video.

  3. 3
    Split into scenes

    When the script is ready, click Split into scenes. On the second step, you will see prepared scenes: title, starting frame, video prompt, final frame, and duration.

  4. 4
    When to use it

    Use Film Studio for videos with multiple episodes and narrative flow. If you only need to animate one product, card, or object for a few seconds, Video Studio is a better fit.

Film Studio: step 2

The scene board assembles the whole video: each scene has a starting frame, video prompt, and final frame.

  1. 1
    How to edit a scene

    Click a scene's starting frame, video prompt, or final frame. The editor for that part opens below: change text, choose frames, upload your own images, or create the frame.

  2. 2
    Characters and references

    Upload or generate characters, locations, and important objects on the right. Use these frames as references for starting and final frames so characters, style, and location stay consistent between scenes.

  3. 3
    Film settings

    In the right panel, choose film format: 16:9 for horizontal video, 9:16 for vertical, or 1:1 for square. Also choose video quality: 720p, 1080p, or 4K. Note: 4s and 6s scenes are available only in 720p.

  4. 4
    Starting frame

    For the first scene, generate a starting frame, choose one from references, or upload it manually. For later scenes, use Continue: Futago takes the previous scene's final frame as the next scene's start.

  5. 5
    Smooth transitions

    Film Studio can start a new scene from the previous scene's ending. This keeps the video smoother and makes movement between scenes feel more coherent.

  6. 6
    Video prompt

    Describe the action inside the scene: who or what moves, how the camera moves, what light, mood, and pace are needed. After review, click Generate scene.

  7. 7
    Final frame

    The final frame helps control where the scene should end. Generate it, choose it from references, or upload it manually. It can also become the next scene's starting frame.

Film Studio: step 3

At this step, finished video scenes are assembled into one draft film.

  1. 1
    Before assembly

    Generate all needed scenes on step two first and check that every scene has video. If a scene does not work, return to the board and rebuild that scene only.

  2. 2
    Assemble film

    Click Assemble film, and Futago combines the finished scenes into one MP4. You can enable or disable sound before assembly.

  3. 3
    If something changed

    If you change a scene, prompt, frame, or order after assembly, rebuild the film so the final MP4 matches the latest board version.

  4. 4
    Separate scenes

    Each scene can be viewed and downloaded separately. This is useful when you only need one fragment or want to replace part of the video.

  5. 5
    Where projects are stored

    Projects are saved in My films. Return later, open a draft, continue working, and assemble the final video again.

Example frame for a video script
Split a script into scenes and frames